Download Window 10 Enterprise 1809
with the Media Creation Tool
The October 2018 release of Windows 10 has just dropped and is now availabe to download using the Media Creation Tool. Using the GUI you can download the consumer ISO which contains the Home, Professional and Education SKUs of Windows 10.
If you want to download the Enterprise version of Windows 10, but don’t have access to Microsoft VLSC or Action Pack subscriptions, it is possible to download it using the Media Creation Tool if you know the right command line switches.
To download Windows 10 Enterprise 1809 using the Media Creation Tool, log in with a local administrator account (for some reason it isn’t good enough to run the tool using Run as administrator, you actually do have to be logged in as an administrator) and download the tool. Open a CMD prompt and change directory to the directory you saved the Media Creation Tool in, and enter the following command:
MediaCreationTool1809.exe /Eula Accept /Retail /MediaArch x64 /MediaEdition Enterprise
When you’re prompted for a product key, you can use the Windows 10 Enterprise KMS client key from this site on Microsoft Docs.
This will download an ISO that contains the various Enterprise SKUs (Enterprise, Enterprise N, Education, Education N, Professional and Professional N) with en-US installed and set to default. If you’d prefer to get en-GB, use the following command:
MediaCreationTool1809.exe /Eula Accept /Retail /MediaLangCode en-GB /MediaArch x64 /MediaEdition Enterprise
This will download an ISO containing the same SKUs as above, but with en-GB installed and set to default.
As far as I can tell, this works for any of the language pack region tags listed on this site. So for example, to download Windows 10 Enterprise 1809 with French installed and set to the default language, you can use this command:
MediaCreationTool1809.exe /Eula Accept /Retail /MediaLangCode fr-FR /MediaArch x64 /MediaEdition Enterprise
If you want to download the 32-bit version of Windows 10 Enterprise instead, you should change /MediaArch to x86.
When you have downloaded the ISO you may unpack it to find that the it does not contain an install.wim, but instead contains install.esd in the sources directory. Depending on what you are doing, you may need the .wim file (for example, if you’re planning to use it with SCCM). Thankfully obtaining a .wim file from the .esd is quite straightforward using DISM.
Open a CMD prompt and use the following command (changing the path for /WimFile to match where your install.esd file is):
dism.exe /Get-WimInfo /WimFile:C:\Temp\Windows10_1809\sources\install.esd
This will list each of the SKUs in the install.esd file. Make a note of the index of the SKU you want (in my case, I want the Enterprise SKU which is index 3).

Now use the following command to create a install.wim file which contains the SKU you want:
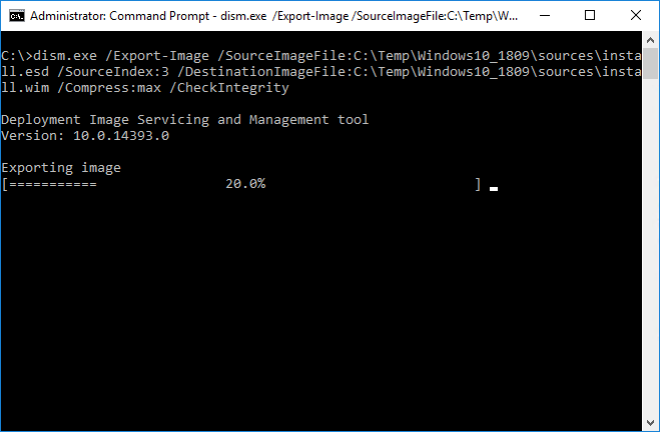
dism.exe /Export-Image /SourceImageFile:C:\Temp\Windows10_1809\sources\install.esd /SourceIndex:3 /DestinationImageFile:C:\Temp\Windows10_1809\sources\install.wim /Compress:max /CheckIntegrity
Make sure the path for /SourceImageFile and /DestinationImageFile are correct for you and change the /SourceIndex to match the index you noted earlier.

Once that is done you can delete the install.esd file if you want, to save space.
This process also works with earlier versions of Windows 10
Original writer's post
Thanks for the great post against your blog, windows 10 activator genuinely provides me with a look about this topic.??;~.??
ReplyDelete